Deep Repair is suggested to be used in the situation where your device cannot be restored to the normal state with Standard Repair mode. Under Deep Repair mode, you can fix various complicated issues like iPhone disabled or locked out of iPhone, but the device data will be cleared. Before using it, make a backup of your device in advance.
Step 1 Connect iPhone to PC and Run MagFone
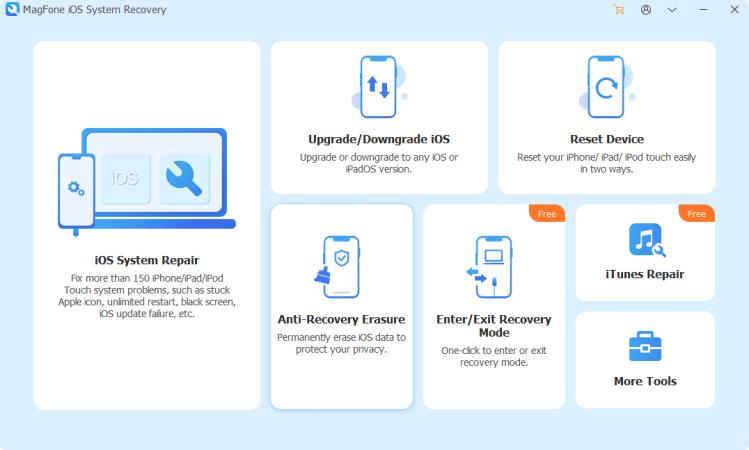
To begin with, you have to plug your iPhone into your computer with a USB cable. Then start MagFone iOS System Recovery on the computer and enter the iOS System Repair mode. On the next screen, click the Start button.
Step 2 Select Standard Repair to Fix iOS Issues
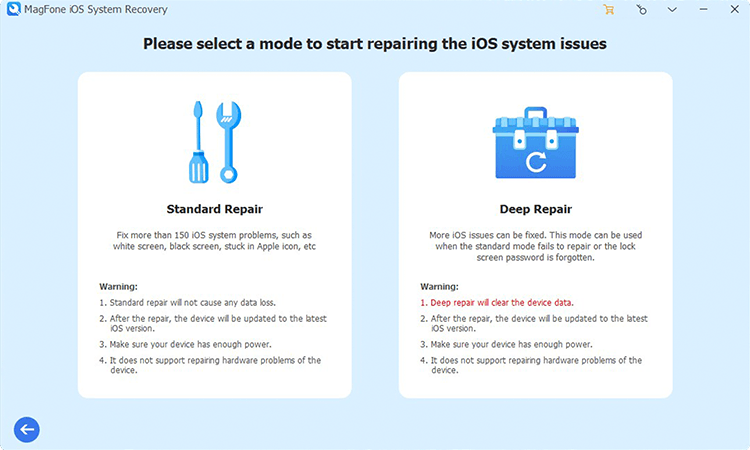
Proceed to click the Standard Repair button. Make sure that your device is detected by MagFone software. Or you have to put your device into recovery mode or DFU mode by following the onscreen instruction. When failing to boot your device into recovery mode, you can use MagFone software to get it done.
Step 3 Download and Verify the Firmware Package
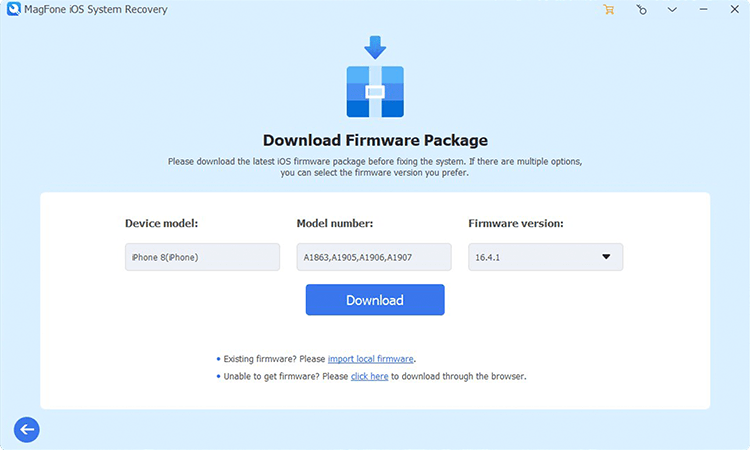
The device information will display on the screen of MagFone software. You need to carefully check the device information including device model and model number and select the firmware version. Then you can click the Download button to download the latest iOS firmware package.
Step 4 Start to Repair iOS System in Standard Mode
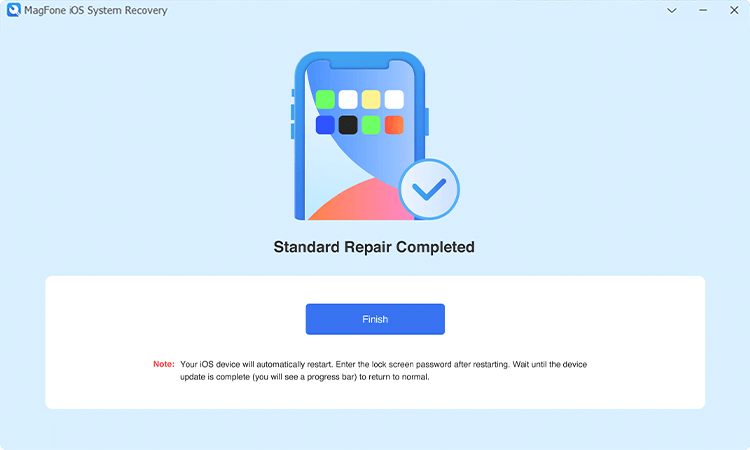
After the firmware package has been downloaded to the computer, you can click the Start Standard Repair button, and MagFone software will unzip the firmware and start fixing iOS issues related to your device. During the process, keep your device connected to the computer until you see the Finish prompt.
Step 1 Connect iPhone to PC and Run MagFone

Start by connecting your iPhone to your computer through a USB cable, then fire up MagFone iOS System Recovery. On the home screen of MagFone software, click the iOS System Repair button, then click the Start button on the next screen.
Step 2 Choose Deep Repair to Fix iOS System

To fix some complicated system issues, you have to select the Deep Repair mode. After ensuring that your device is detected by MagFone software, you can proceed to the next step. If not, you have to put your device into recovery mode or DFU mode by doing the steps shown on the screen.
Step 3 Download and Verify the Firmware Package

The next step is to download the latest firmware package for your device. Before downloading the firmware, check the device information like device model and mode number carefully. Then you can select the firmware version for your device and click the Download button to save the firmware.
Step 4 Start to Repair iOS System in Deep Mode
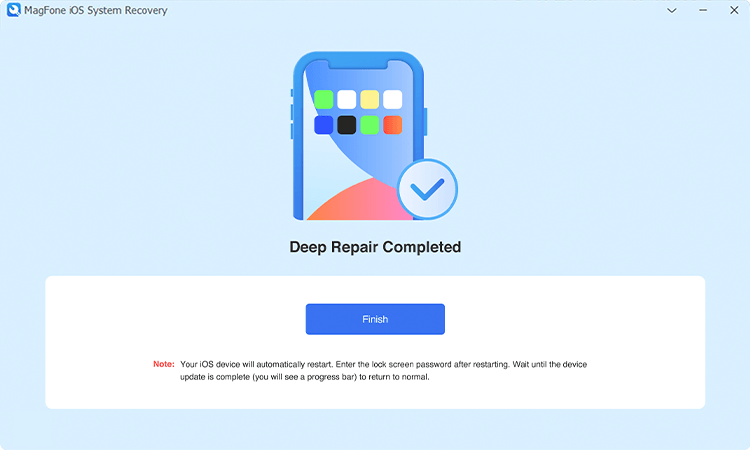
To initiate the process of repairing your device, you can click the Start Deep Repair button once the firmware has been downloaded. Then MagFone software starts unzipping the firmware and resolving the iOS issue on your device. During the process, don't plug your device from your computer.
Step 1 Run MagFone iOS System Recovery
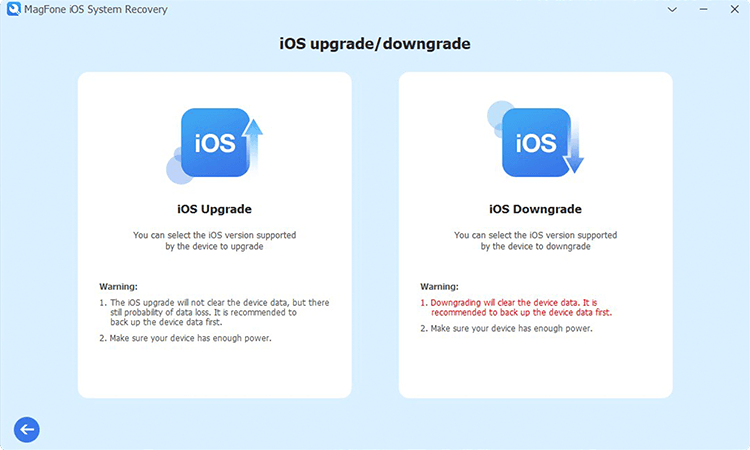
First of all, use a USB cable to make your iOS device connect to your computer. Then launch MagFone iOS System Recovery on the computer and click the Upgrade/Downgrade iOS button on the main interface. Here you need to choose Downgrade iOS or Upgrade iOS according to your demands.
Step 2 Download the Firmware Package

After selecting iOS upgrade or iOS downgrade, you can go to download the upgradable firmware or the downgradable firmware. Before downloading the firmware, check the device information shown on the screen of MagFone software, then click the Download button to download the firmware.
Step 3 Start to Downgrade/Upgrade iOS
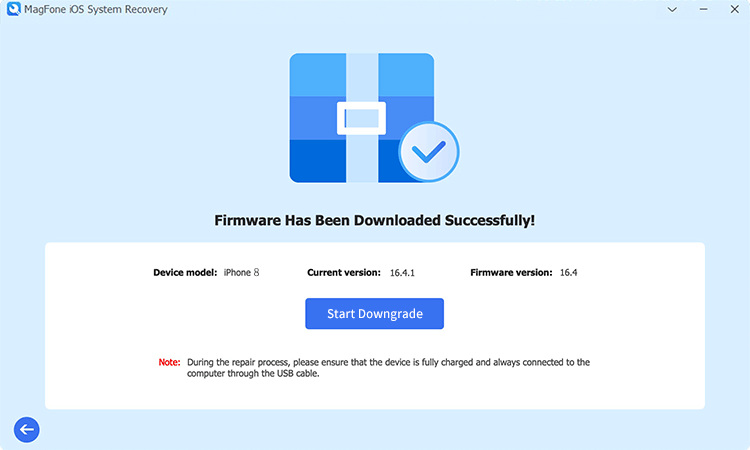
Once the firmware has been downloaded successfully, you can prepare to upgrade or downgrade iOS on your device. Here you only need to click the Start Upgrade button or the Start Downgrade button. Then MagFone iOS System Recovery will complete the task as soon as possible.
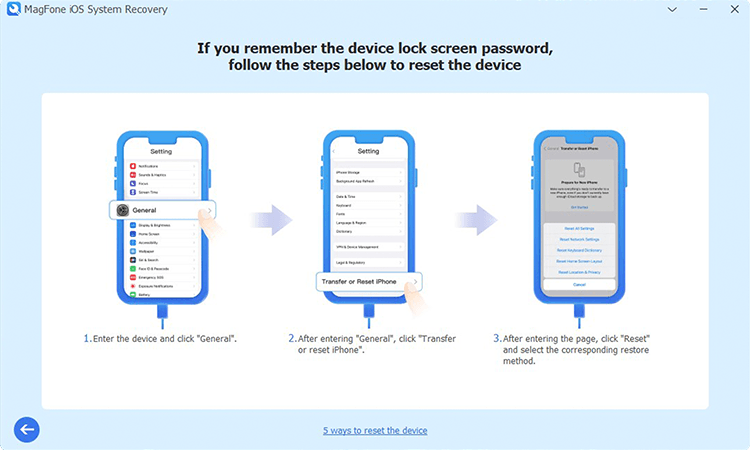
To restore your iOS device to the default settings for solving such as network, you can choose the Stand Reset mode when using MagFone iOS System Recovery. Fire up MagFone iOS System Recovery on your computer and click Reset Device > Standard Reset. Then follow the onscreen instruction to reset your device directly. Head to Settings > General on your iOS device, scroll down to tap Reset or Transfer iPhone, then tap Reset to select any reset option you want.
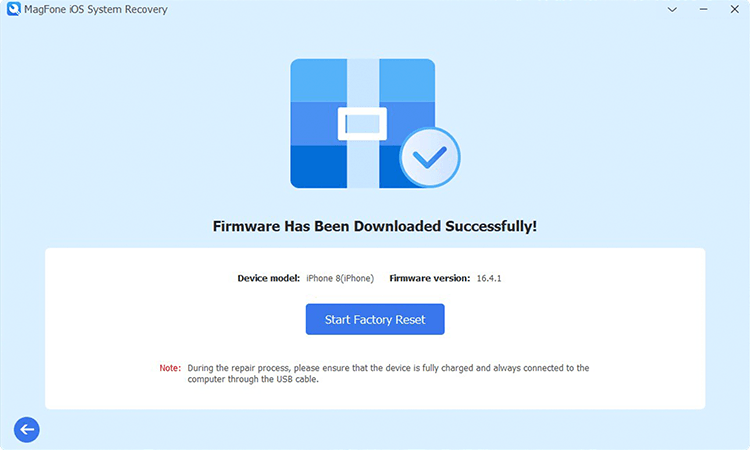
Another reset mode from MagFone iOS System Recovery can solve some complicated problems like forgotten password, screen stuck, and more by resetting your device to the factory settings. Get your iOS device connected to your computer and open MagFone iOS System Recovery. Then click Reset Device > Factory Reset > Download to download the firmware package. Once the firmware is downloaded, click the Start Factory Reset button to begin factory resetting your device.
Step 1 Link iPhone and Run MagFone iOS System Recovery

Firstly, use a USB cable to connect your iPhone to your computer, then launch MagFone iOS System Recovery. On the main interface, select the Anti-recovery Erasure option.
Step 2 Download the Firmware Package

Secondly, you can click the Anti-recovery Erasure button. You'll see the device information shown on the screen. Make sure all is right, then click the Download button to download the firmware package.
Step 3 Start to Anti-recovery Erasure
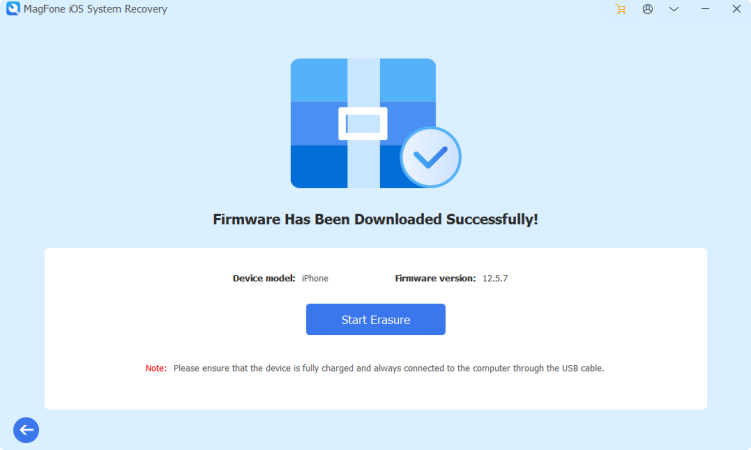
Finally, you can click the Start Erasure button after completing the download of the firmware package. During the process, keep your device connected to the computer.
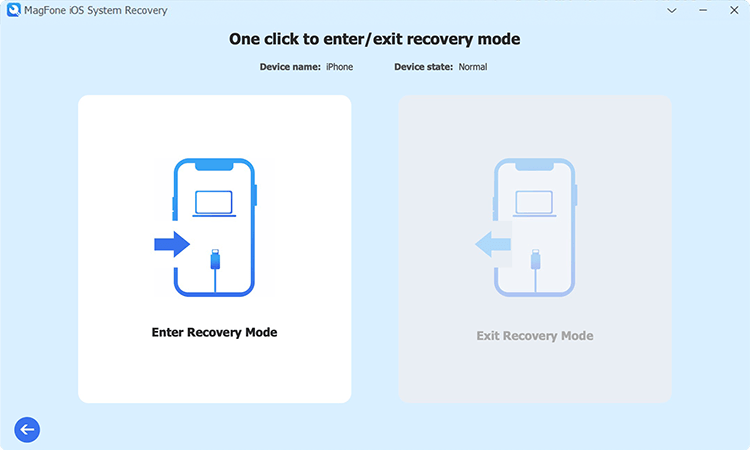
Go to connect your iOS device to your computer with a USB cable. Then launch MagFone iOS System Recovery on the computer and click the Enter/Exit Recovery Mode button on the main interface. Make sure that your device is detected by MagFone software. Proceed to click the Enter Recovery Mode button, then there will pop up a window saying "Entering recovery mode, please wait". Keep your device connected to the computer until the recovery mode screen appears on your device. Also, you can see a prompt displaying "Enter recovery mode successfully" on the software.
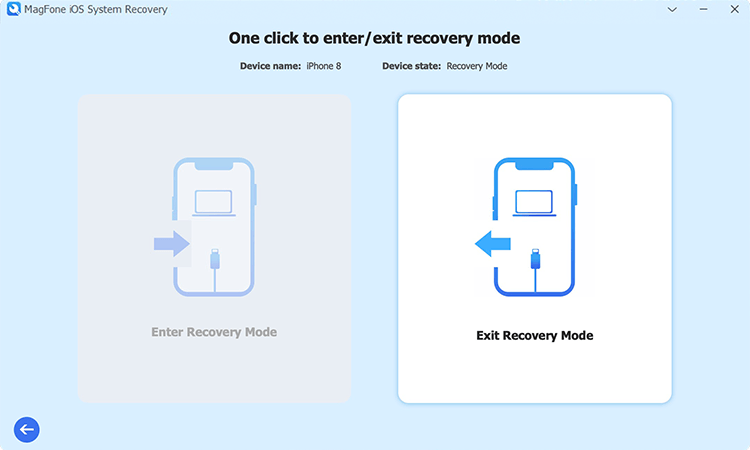
Simply connect between your iOS device and your computer through a USB cable. Then run MagFone iOS System Recovery and select the Enter/Exit Recovery Mode option on the home screen. When your device is in recovery mode, you can click the Exit Recovery Mode button. It takes several minutes to get your device out of recovery mode. During the process, keep the connection between your device and computer. Then you'll see a pop-up window displaying "Exit recovery mode successfully". Your device will automatically restart in normal state.
Step 1 Connect iPhone to PC and Run MagFone
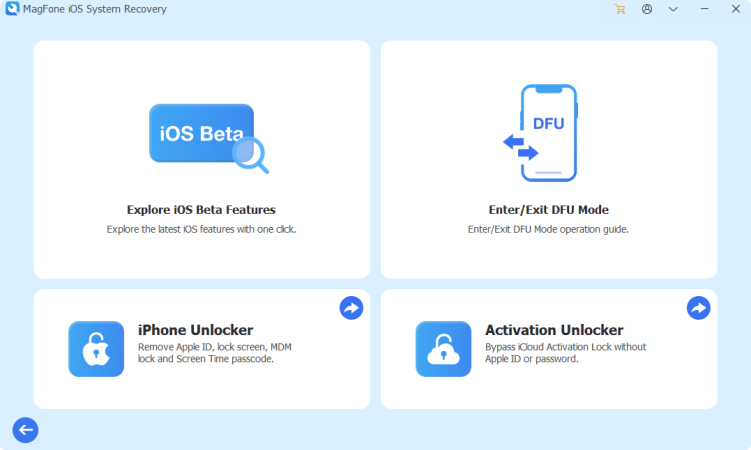
First of all, go to connect your iPhone to your computer through a USB cable, then launch MagFone iOS System Recovery on the computer. Then click the More Tools button and select the Explore iOS Beta Features option.
Step 2 Download and Verify the Firmware Package
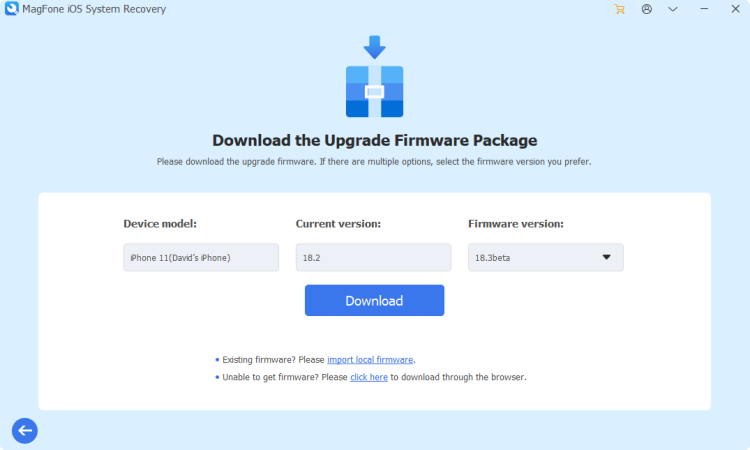
Once your device is detected by the computer, you can find your device's information on the screen. Then check the device information and select the version of iOS beta. Proceed to click the Download button to download the upgrade firmware package.
Step 3 Download and Verify the Firmware Package
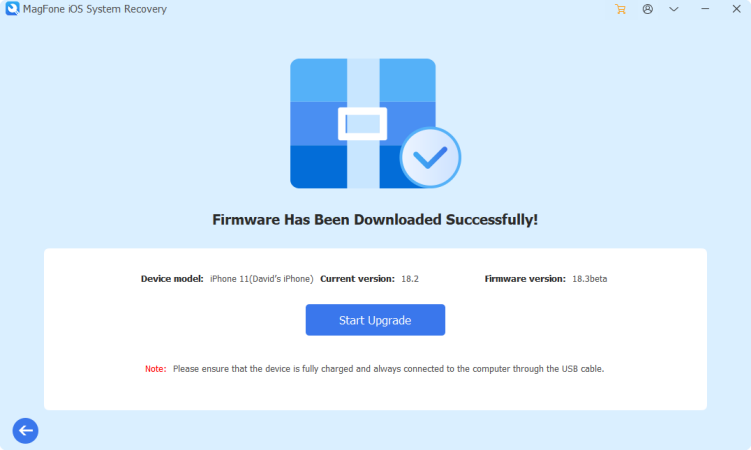
Finally, you can click the Start Upgrade button to install the iOS beta on your device. It will take several minutes to complete the installation and wait for a while. In the whole process, keep your device connected until the task ends.